|
Take-Off |
|
Software: PI Version 10
Author: Claudette Holden
Terms of Use
Testers:
Rosie & Paula
Homepage:
PI Home
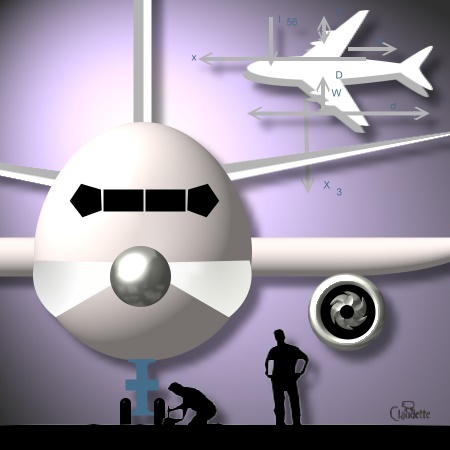
Title: "Take-Off"
Skill Level:
Intermediate
Featured tools: Path Drawing Tools
What you Need:
Font:
Fairfax
Station

|
Necessary Download: Menworking.ufo

OR
 |
| 1. 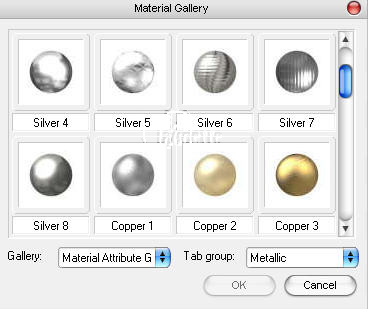
|
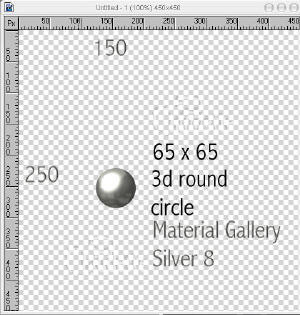
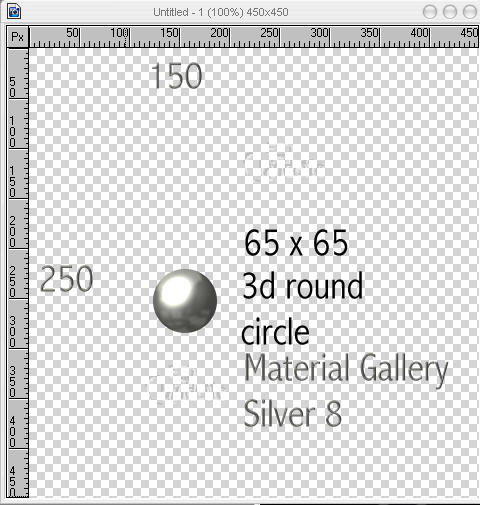
- 1.Open a new canvas 450 x450 transparent. Also click on
VIEW >show ruler or you can click on
the little ruler icon.

- Click on the path Drawing
tool icon
 and choose a
circle. 3-D Round and choose a
circle. 3-D Round
Shift X
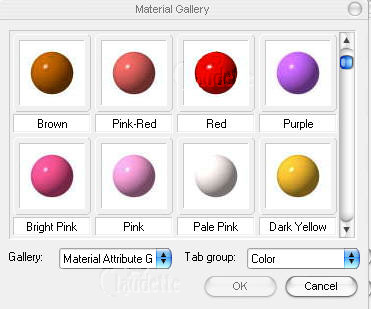
and the Material Gallery will open, Where it says Gallery, choose
Material Attribute Gallery and in the Tab
group section choose Metallic >Silver 8
-
-
-
|
| 2 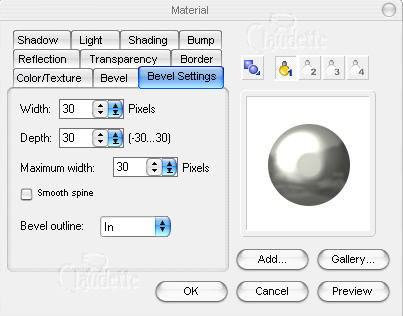
|
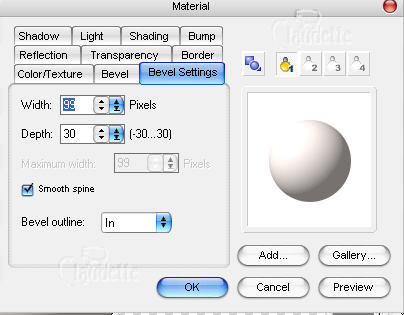
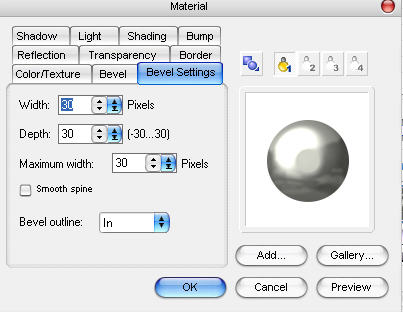
2. Open the
Material Dialog
box/Bevel Settings tab and set the bevel to Width
30
Depth 30
and make a 65x65 circle on your blank canvas at approx coordinates 150 x250 on the canvas
 |
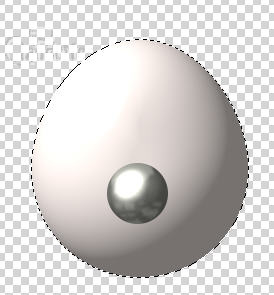
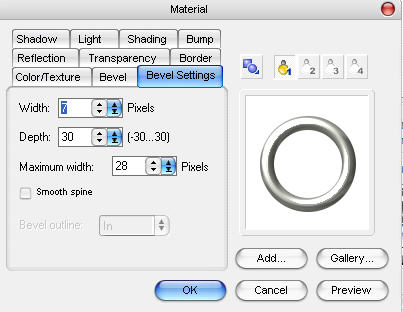
| 3. Material Settings:
Choose Pale Pink
(looks like white)
Bevel settings:
|
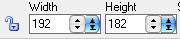
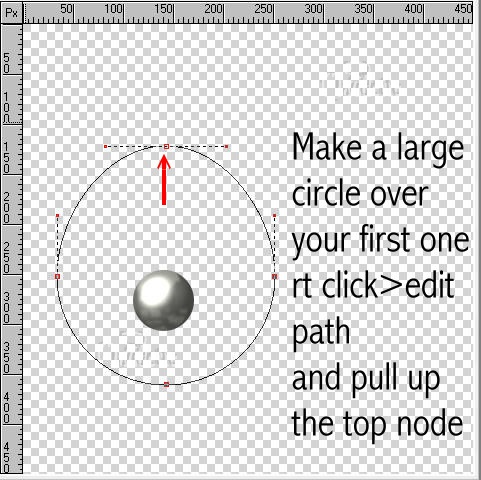
3. Make another circle
(with the Materials setting and bevel settings found on the left here) over
your first one.
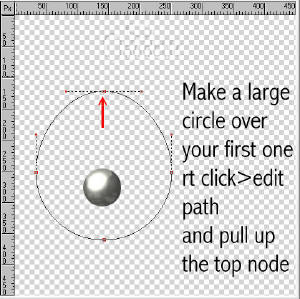
Size: Width 192 and Height 182
Right click and edit path.
Gently just pull up the top node to a height of
215. (see below)
Right click > toggle mode
check material settings and bevel settings
and  send to back. send to back.
.
|
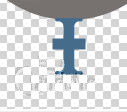
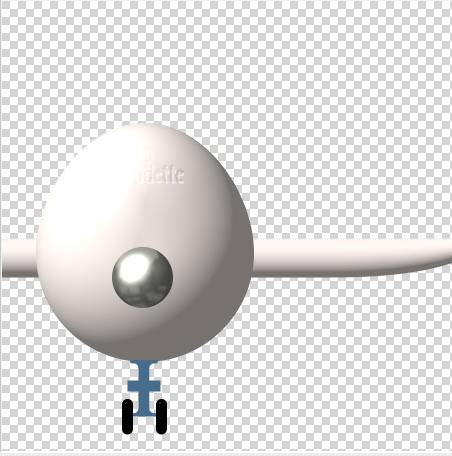
| You should now have:
Wheel assembly: (close up)
|
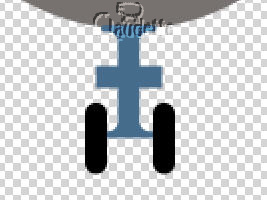
- 4.Using the font: Fairfax Station
(download above)
- or you can use Times New Roman
- Make an Upper case I
- size: 82
- 2D object
-
 hex #446D8C hex #446D8C
- and place it at the bottom center of your oval
-
then using your path tool > rectangle make a tine rectangle in the middle
of the I
now using the rounded rectangle make two black wheels 15 x 36 on each side of the
I |
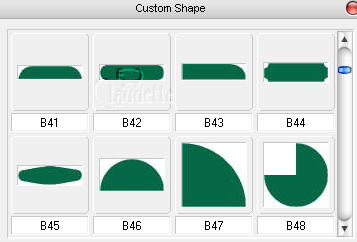
| Wing:

place under your plane
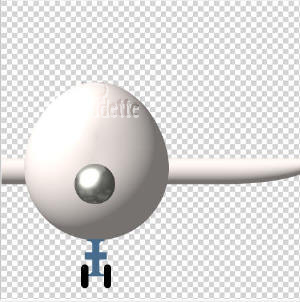 |
5.Let's Make the wing using Custom shape B43
(same settings as in Instruction 3 above), draw a shape (462w x 32h pixels)
and move so that right wing tip is outside of canvas area. Same material
attributes as in step 3
Right Click/Arrange/Send to Back and then use the Transform Tools/Rotate &
flip, to flip the shape vertically.
|
6A.
6B.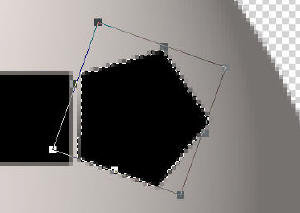
|
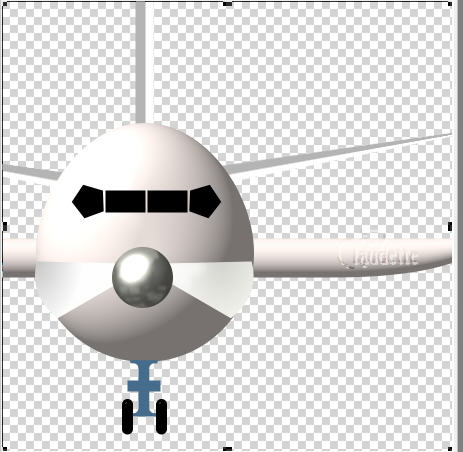
6. We are almost finished ! :-) OK let's
add the windows.
A. Using the path drawing tool> rectangle > colour Black
make two windows (33 x 22 each).
B. Use the path drawing tool> pentagon>colour
Black, Mode 2D, approx 31 x 29 to make a side window, use the
transform tools/ Rotate freely, to rotate the pentagon ultil it's side lies
parallel with the window side, then duplicate
it and use the Transform Tools/ flip and move it to the other side.
|
| 7. 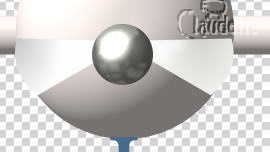
|
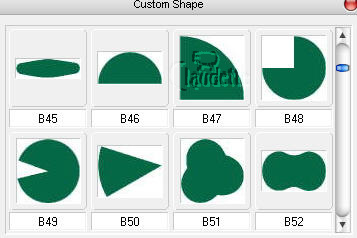
7. Some details and the back Using custom shape
B50 >2D> size107 x 67. Then using the Transform
Tools/ Rotate by degree tool, rotate 10 degrees clockwise.
Duplicate and and use the transform tool to flip horizontally and place on
the other side of the nose.
You can shade these after you convert them to an image, using the
Elliptical gradient fill tool
Using these settings:

(click to see
larger view) and then bring nose to the front.
|
| 8.
|
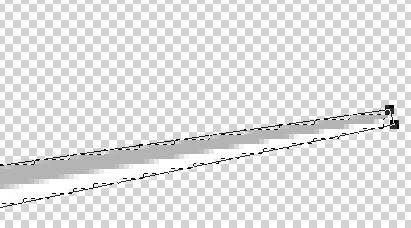
8.The Tail Using the Line and
Arrow tool with these settings
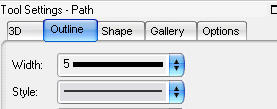
- Draw lines 6 x 180 for the tail first in white and then in
grey. Merge these as a single object.
- Place this at the back center of the plane. Duplicate this merged line
and use the
Transform Tools/ Rotate by degree tool, rotate 80 degrees
clockwise. Then
- use the
Transform tools>Perspective pinch in the ends and Move to back and position slightly above the wings.
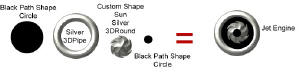
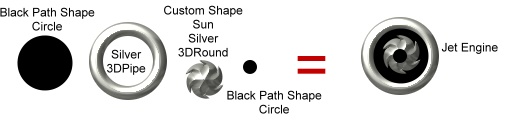
Make the jet engine by following the above diagram
Black circle size 62 x 62
Silver 3d pipe size 62 x 62
Custom shape Sun Silver 3D round, size
42 x 42
- small black dot , 3D round, size 17 x17
- Put together in order above and merge as a single object. Place the
engine at the approx coordinates
- 310 x 349
|
|
|
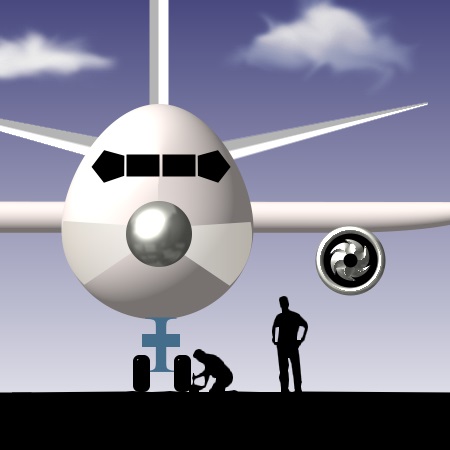
Download the men working
(at the top of this page) and open the ufo file.
Place the men at the bottom of your canvas and using the transform tool>
Resize, size them to fit at the bottom of the canvas.
Add in anything else you want now ... be creative and make this your own.
Be creative with your background. (I used a custom shape plane and added
some arrows and letters and number. On the background I used a Special Effects
Gallery>Lighting> LO3.)
When you are finished you may take your award and place it on your web
page.
|
| When you have
completed this tutorial, you may download and display this award on your web
page. Right-click on image and save to your hard drive. Please DO NOT link
directly to the award. |
This award is being offered
on the honour system.
Please DO NOT
link directly to the award. |
|
 |
|
©2005 Claudette Holden
|

