|
Making a "Sheepie" using PI 10
|
|
Software: PI Version 10
Author: Claudette Holden
Terms of Use
Tester:
Jeri &
Candy
Homepage:
PI Home
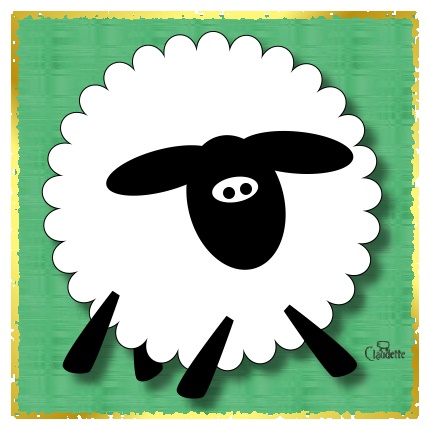
Title: "Sheepie"
Skill Level: Beginner
Featured tools: Path Drawing
Tools
What you need: PI Version 10
|
- Note:
- The coordinates I use are
measured by eye.
- Do what looks best to you!
|
|
2.
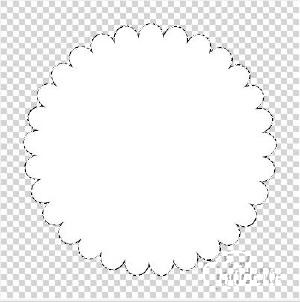 |
1. Open a new canvas, 400 x 400,
transparent BODY
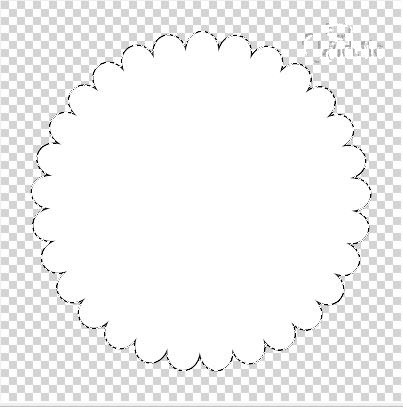
2. Using the Select a Polygon Shape Tool, CLOVER.
 Set the number
of convex points to 29, Colour White,2d Object, Border 1- Black Set the number
of convex points to 29, Colour White,2d Object, Border 1- Black

make a shape sized 353x353 . Right click in the center and choose
Align> Center Both, to place it in the
middle of your canvas.
Click on enter to de-select it. |
| 3.
 |
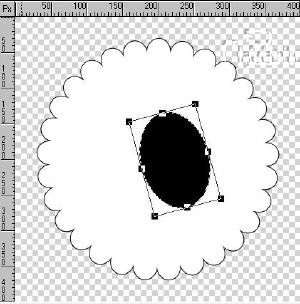
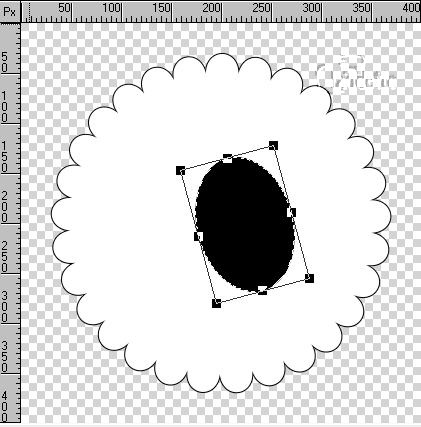
HEAD
3.Using your Path Drawing tool, Ellipse, colour black, no border, make a 137
x 162 oval. Place it a the approx coordinates 200x200.
Click on the transform tool and rotate the head counter clockwise 15
degrees.
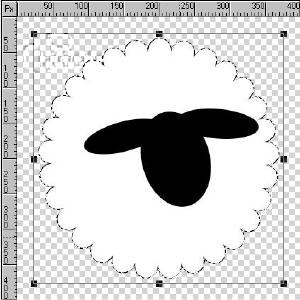
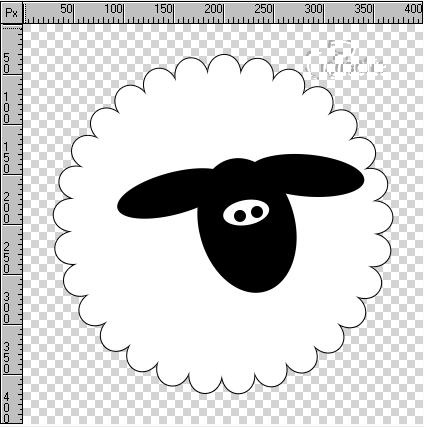
EARS
Using the same settings, make another oval 116 x42
(PLACE AS SHOWN) and rotate 5 degrees clockwise.
Duplicate this oval and using the transform tool Flip horizontally and
rotate this ear a further 10 degrees, place it at coordinates 175 x 145.
Merge all three ovals as a single object.
Click on Enter to de-select.
|
| 4.
 |
EYES
4. Using the same oval shape, make a white oval, 2Dobject, no border, size
50x32 and rotate 10 degrees counterclockwise.
Change the Path drawing shape to a circle, 2Dobject, colour black, no border and make a
11x11 circle, duplicate it and place both in the white oval (as per sample
on the left)
Click on Enter to de-select. |
| 5.
 |
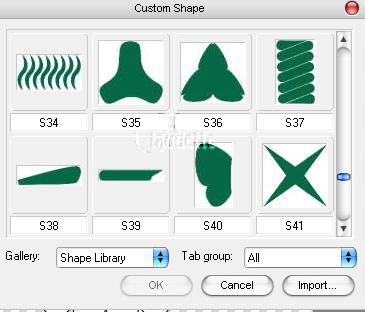
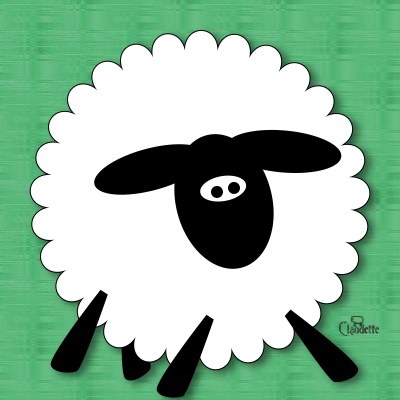
LEGS 5.Click on the Path too icon
 , choose Custom Shape , choose Custom Shape
S38 and make a 95x36 shape. Duplicate that 3 times and move your legs in
place.
Click on the transform tool and rotate them (as per the sample on the
left.)
Right click on the leg you want in the back and choose Arrange > send to back.
Now you can Select> all objects and
merge as single object and drag him over
to your Object library, so you can use him again.
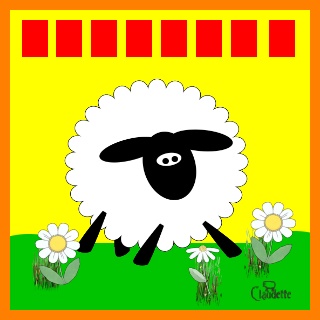
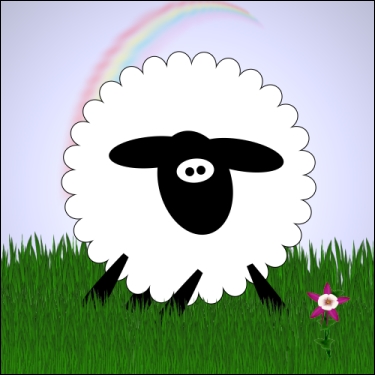
To finish your "sheepie" just put in a background of your choice.
Each little "sheepie" should have his own personality!!!
You are finished.
Sample with different background and extras
 |
| When you have
completed this tutorial, you may download and display this award on your web
page. Right-click on image and save to your hard drive. Please DO NOT link
directly to the award. |

This award is being offered
on the honour system.
Please DO NOT
link directly to the award. |
 |
|
©2005 Claudette Holden
|
